Revised March 29, 2011
December 12, 2005

Revised March 29, 2011
December 12, 2005
How To Make Copies of DVDs
By Ken Stone
Okay, you have created your master piece and burnt it to DVD using DVD SP or iDVD. As you only want this one copy and need hard drive space, you trashed the entire DVD project. Soon after, you find that you now need extra copies of the DVD (typical). What follows is the process for making DVD copies from any DVDs that are not Copyright protected. We will be using the Mac's Disk Utility application. This article has four sections and covers Leopard, Tiger, Panther and Jaguar.
As most of us only have one DVD drive in our Macs, this will be a two step process. First we will need to copy the information from the DVD to our hard drive and eject the original DVD. When we copy the original DVD, we will make a 'disc image' (.dmg) of it on our hard drive. A disc image is an exact and perfect clone of the original. Then we will insert a blank DVD and burn the DVD disc image to the blank DVD.
Leopard
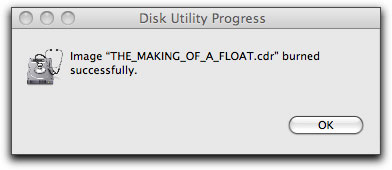
Upon completion you will receive a 'Burned Successfully' box.
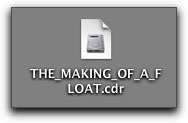
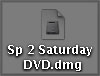
It's easy to tell the difference between a physical disk and a disk image, as each has their own distinct icon.
Enjoy,
--ken
Tiger - Using the Finder
Place the DVD that you want to copy into the Mac.
This will launch the Apple DVD Player. Quit the DVD Player, you will have the DVD icon on your desktop.

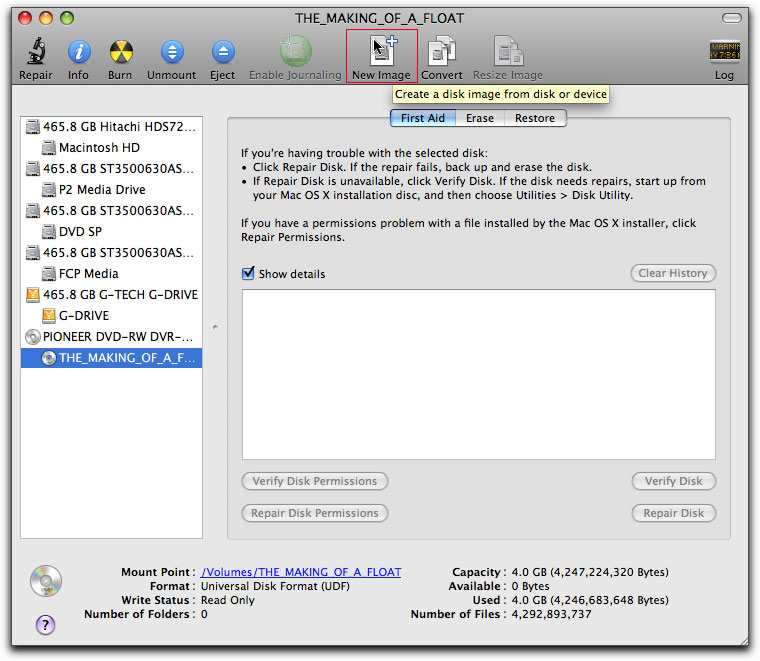
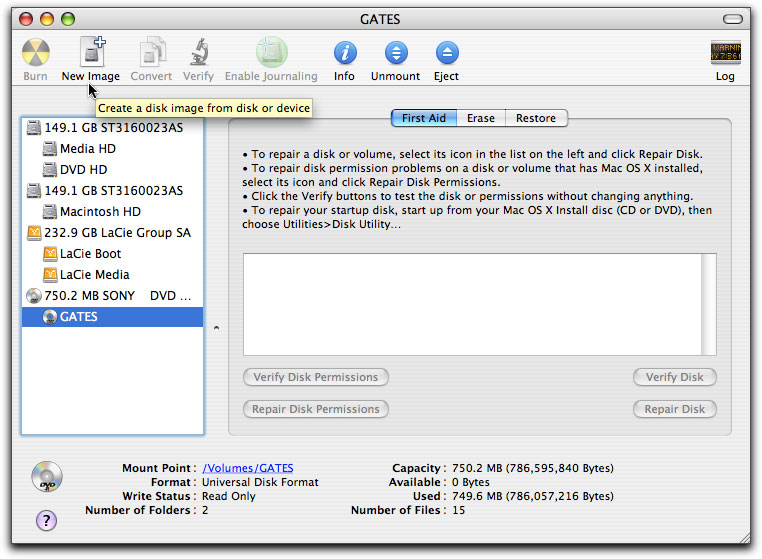
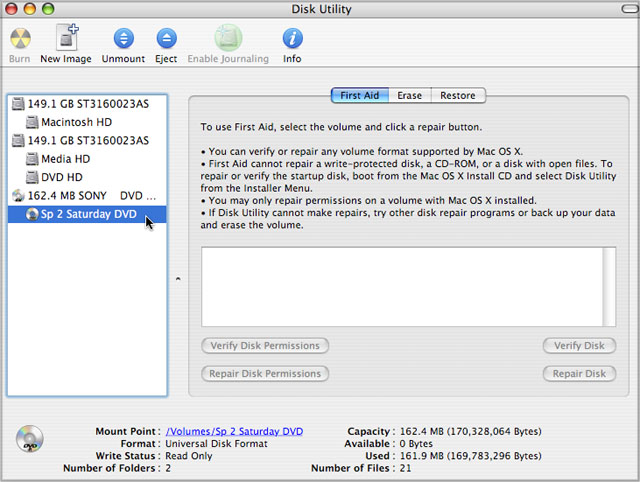
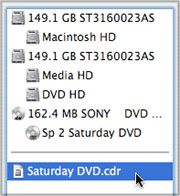
Open Disk Utility found in the Utilities folder inside the Applications folder. First, select the actual DVD, not the DVD drive, from the panel list on the left. Then click on the 'New Image' icon at the top of the Disk Utility window. Note that if the DVD is Windows/Mac file formatted, then you would want to select the '750.2 MB SONY' Drive in the left hand column as opposed to the 'Gates' volume.
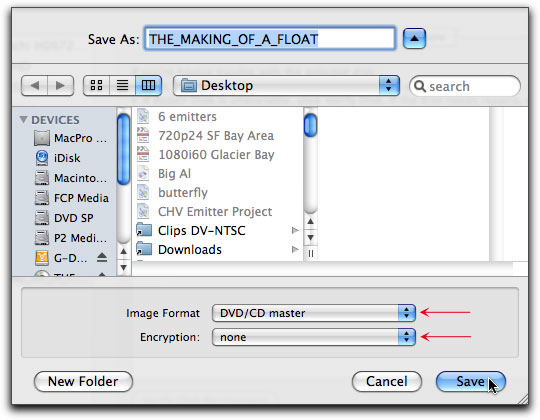
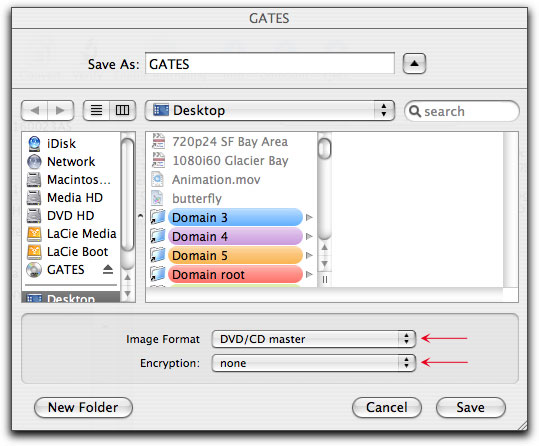
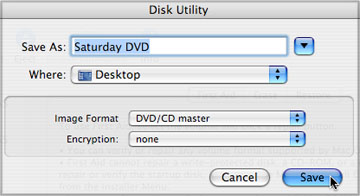
In the ensuing 'Save As' box, enter the name of your new DVD and select a destination. I have chosen my desktop (the desktop is always on your boot drive), but remember that DVDs can run over 4 gigs, so be sure that the disk you are Saving the DVD to, has enough space. In the 'Image Format' drop-down menu, select DVD/CD master. Leave 'Encryption' set to none. Click Save. While you are creating a 'disc image' of your original DVD, when you select 'DVD/CD master' as your Image Format you will get a .cdr suffix and not a .dmg suffix, this is okay.
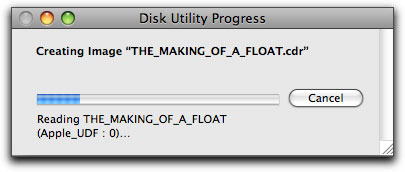
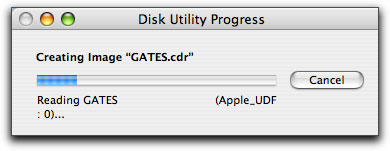
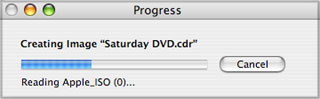
You will be presented with a progress bar.
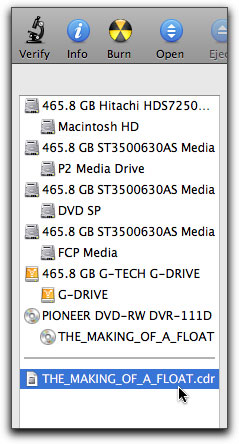
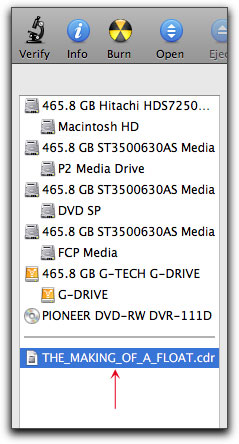
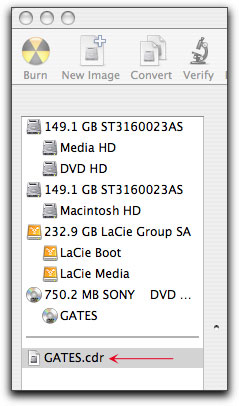
When the copying process has finished you will see a new item in the panel list on the left of Disk Utility window, "GATES.cdr", this is the mounted version of your new DVD copy. The new DVD's icon is placed on the desktop. You can now eject the original DVD from your Mac.

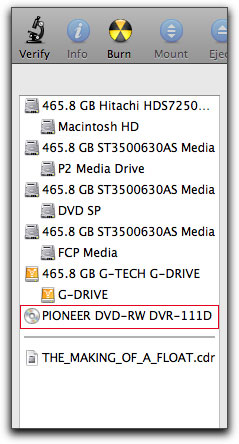
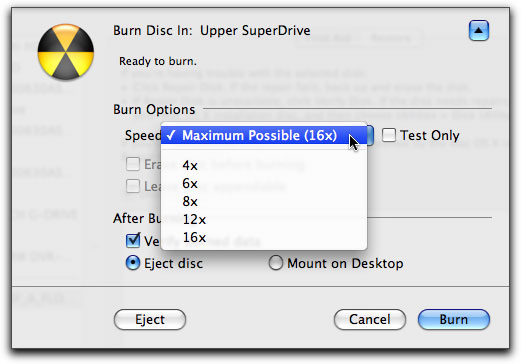
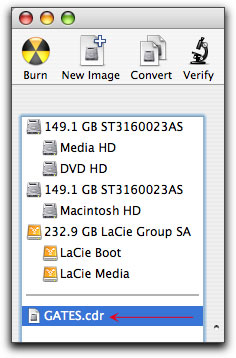
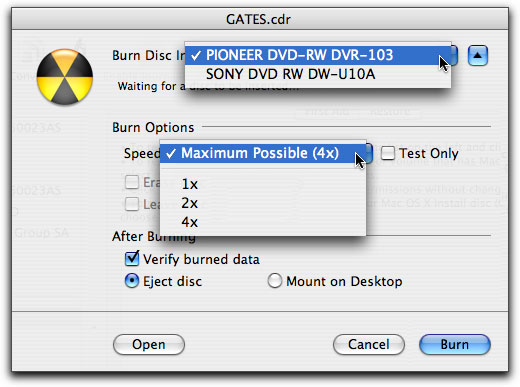
Select your DVD disk image (.cdr) from panel list on the left of the Disk Utility window and click on the Burn button at the top of the window or select Burn Disc from the File Menu. The Burn window will drop down, select a burner (if you have more than one). Then, after inserting a blank DVD, select the burn speed and 'Verify burned data'. Click the Burn button bottom right of the Burn window.
Done. You can save the .cdr (.dmg) file to make additional burns at a later date.
Place the DVD that you want to copy into the Mac.
This will launch the Apple DVD Player. Quit the DVD Player, you will have the DVD icon on your desktop.

Open Disk Utility found in the Utilities folder inside the Applications folder. First, select the actual DVD, not the DVD drive, from the panel list on the left. Then click on the 'New Image' icon at the top of the Disk Utility window.
In the ensuing 'Save As' box, enter the name of your new DVD and select a destination. I have chosen my desktop (the desktop is always on your boot drive), but remember that DVDs can run over 4 gigs, so be sure that the disk you are Saving the DVD to, has enough space. In the 'Image Format' drop-down menu, select DVD/CD master. Leave 'Encryption' set to none. Click Save. While you are creating a 'disc image' of your original DVD, when you select DVD/CD master you will get a .cdr suffix and not a .dmg suffix, this is okay.
You will be presented with a progress bar.
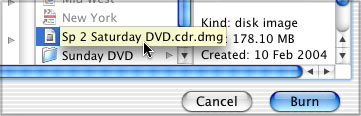
When the copying process has finished you will see a new item in the panel list on the left of Disk Utility window, "Saturday DVD.cdr". This is the DVD copy that is now stored on your hard drive. You can now eject the original DVD from your Mac.
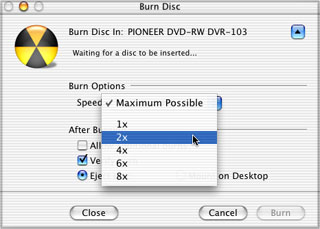
Select your DVD disk image from panel list on the left and click on the Burn button at the top of the Disk Utilities window or select Burn Disc from the File Menu. The burn window will drop down. You can select burners, (if you have more than one DVD burner), burn speed and 'Verify burn'. After inserting a blank DVD, click the Burn button bottom right of the Burn window.

Done. You can save the .cdr (.dmg) file to make additional burns at a later date.
Place the DVD that you want to copy into the Mac.
This will launch the Apple DVD Player. Quit the DVD Player, this will leave the DVD icon on your desktop.
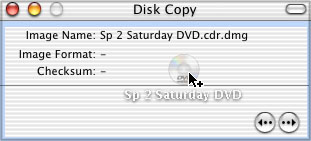
Open 'Disk Copy', found in the Utilities folder inside the Applications folder. Drag the DVD icon on your desktop into the Disk Copy window.
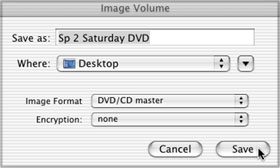
The 'Image Volume' dialog box will open, enter the name of your new DVD and select a destination. I have chosen my desktop (the desktop is always on your boot drive), but remember that DVDs can run over 4 gigs, so be sure that the disk you are Saving the DVD to has enough space. In the 'Image Format' drop-down menu, select DVD/CD master. Leave 'Encryption' set to none. Click Save.
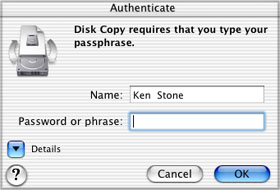
You may be asked to enter your Password.
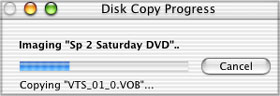
You will be presented with a Progress window. When completed the Disk Copy dialog box will now have the message, "Image Volume operation completed successfully" and the the Disk Image will be mounted on your desktop. (The Disk Copy window below has its tool bar turned on).

At this point you will want to eject your original DVD. Click on the Burn Button in the Disk Copy tool bar or from the File Menu > Burn Image. You will then be asked to navigate to your new Disk Image and select it.
After selecting your DVD Disk Image, click on the Burn button. At this point you will be given the option of selecting which drive you want to do the burning, (if you have more than one DVD burner). You will also select your burn speed from the 'Speed' drop-down menu and if you want to have the DVD disk 'Verified' after the burn. When you click on the Burn button the burner door will open and you'll be asked to insert a blank.
There are other workflows using the Finder in Jaguar and Panther that can be used to duplicate DVDs, but the procedures described above work well. If you have a copy, Toast can be employed to accomplish the same task.
copyright © www.kenstone.net 2004
All screen captures, images, and textual references are the property and trademark of their creators/owners/publishers.